Manufacturer’s guidelines are the best possible source of information on the installation of different styles of carpeting. Each product may have its own list of specifications and installation techniques. Generally, the following is applicable:
- Preparation – Furniture to be removed from installation areas. Baseboards and moulding may need to be removed. If old carpet is to be removed, allow time for this to be done properly and sub-floor repairs to be completed prior to installation. New floor coverings need to be installed over a structurally sound sub-floor. Doors are usually removed from the room to make the installation easier.
- Prior to Installation – generally, it is recommended that all painting and wallpapering be completed prior to the carpet installation, to avoid paint or glue spills onto the carpet.
- Equipment – our installers will bring all the tools necessary to lay the carpet; all they will need access to is an electrical power outlet.
- Tackless Strips – Tackless strips are cut to size, then installed across thresholds or doorways to hold the carpet in place.
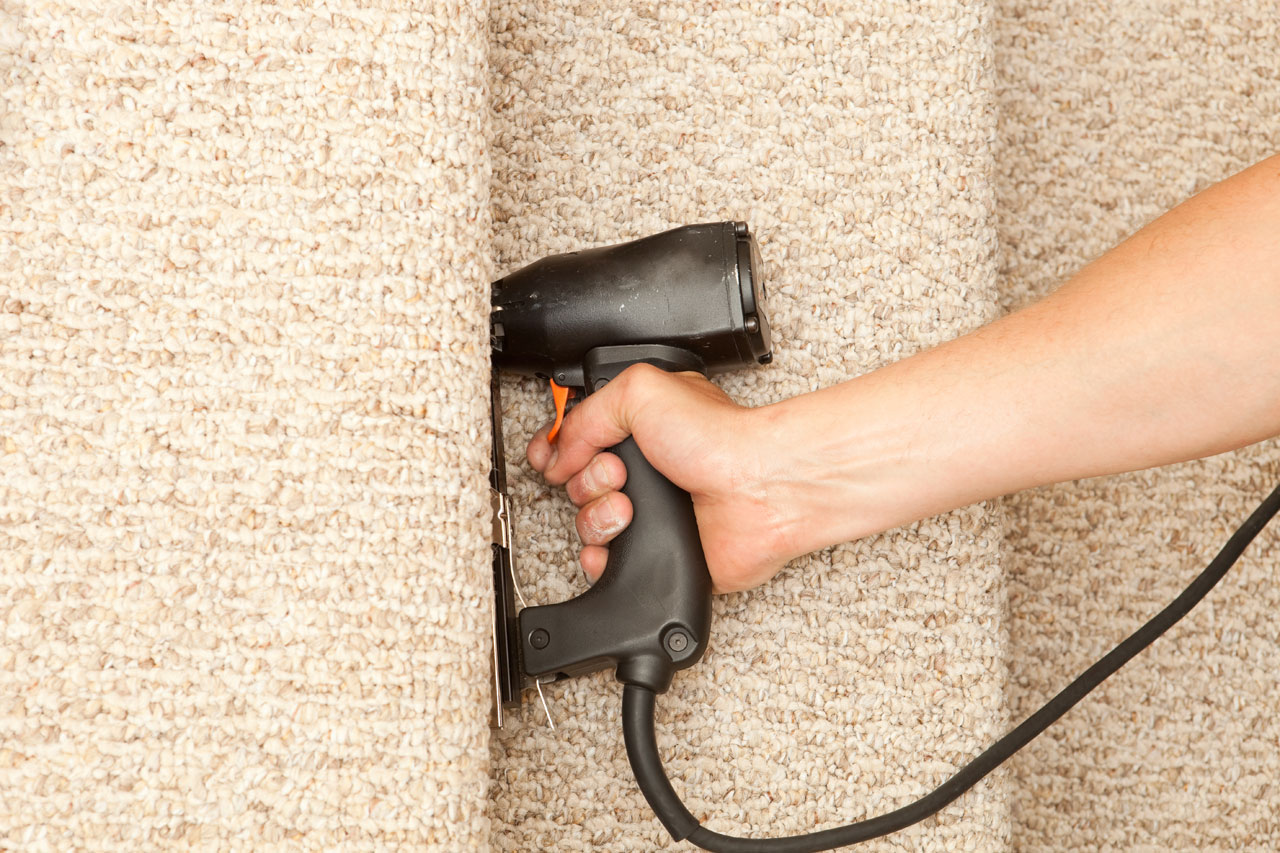
- Underpad – once the sub-floor is cleaned of all debris, an underpad will be laid down perpendicular to the direction you plan to install the carpet. It is stapled near the tackless strips using a staple hammer. This will make the carpet feel softer when walking on it, plus dampen any noise. The seams of the pad are stretched so they are fitted tightly together, then stapled. Finally, the padding along the interior edge of the tackless strip is cut away, so that all the tacks are visible.
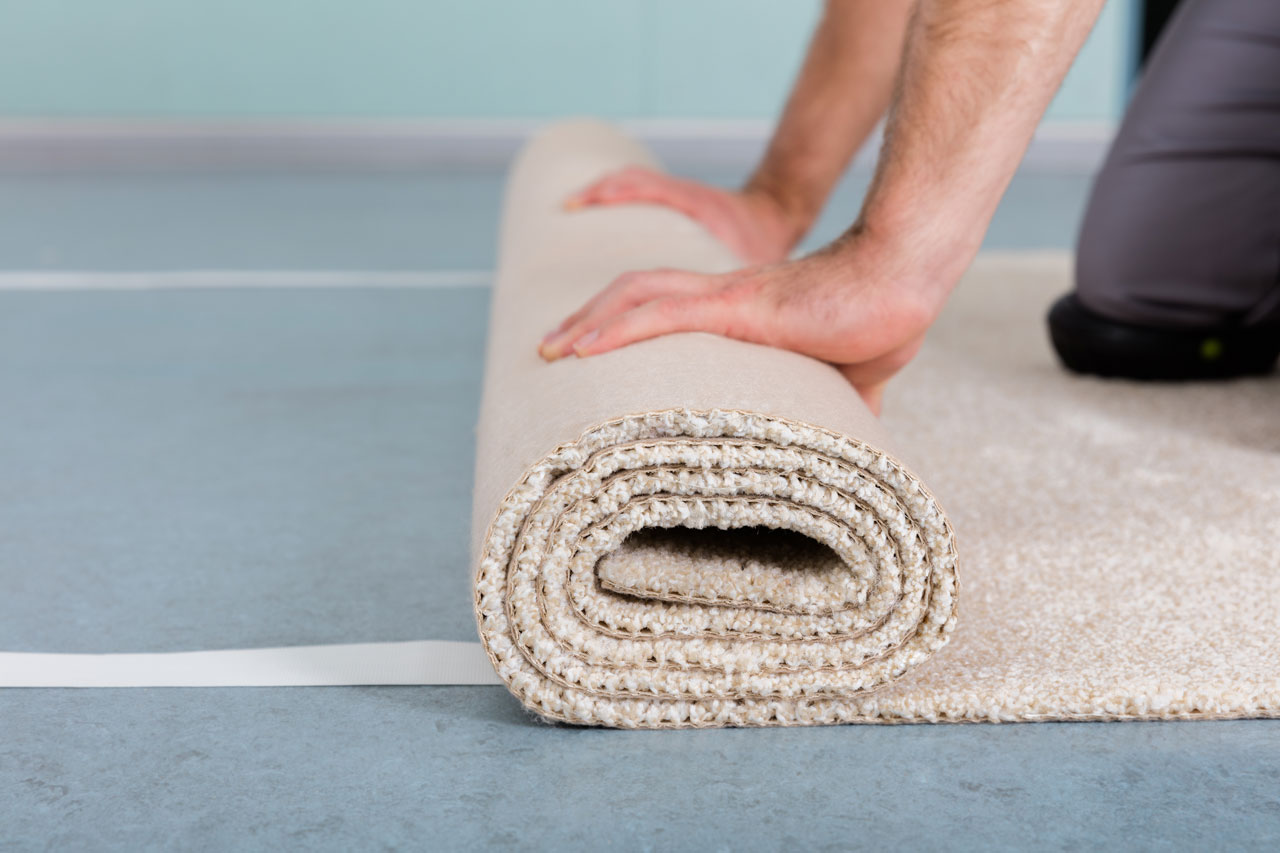
- Trimming – The carpet is measured, then trimmed before installing. The carpet is rolled out, making sure to be kept as straight as possible, with a few inches left next to the walls.
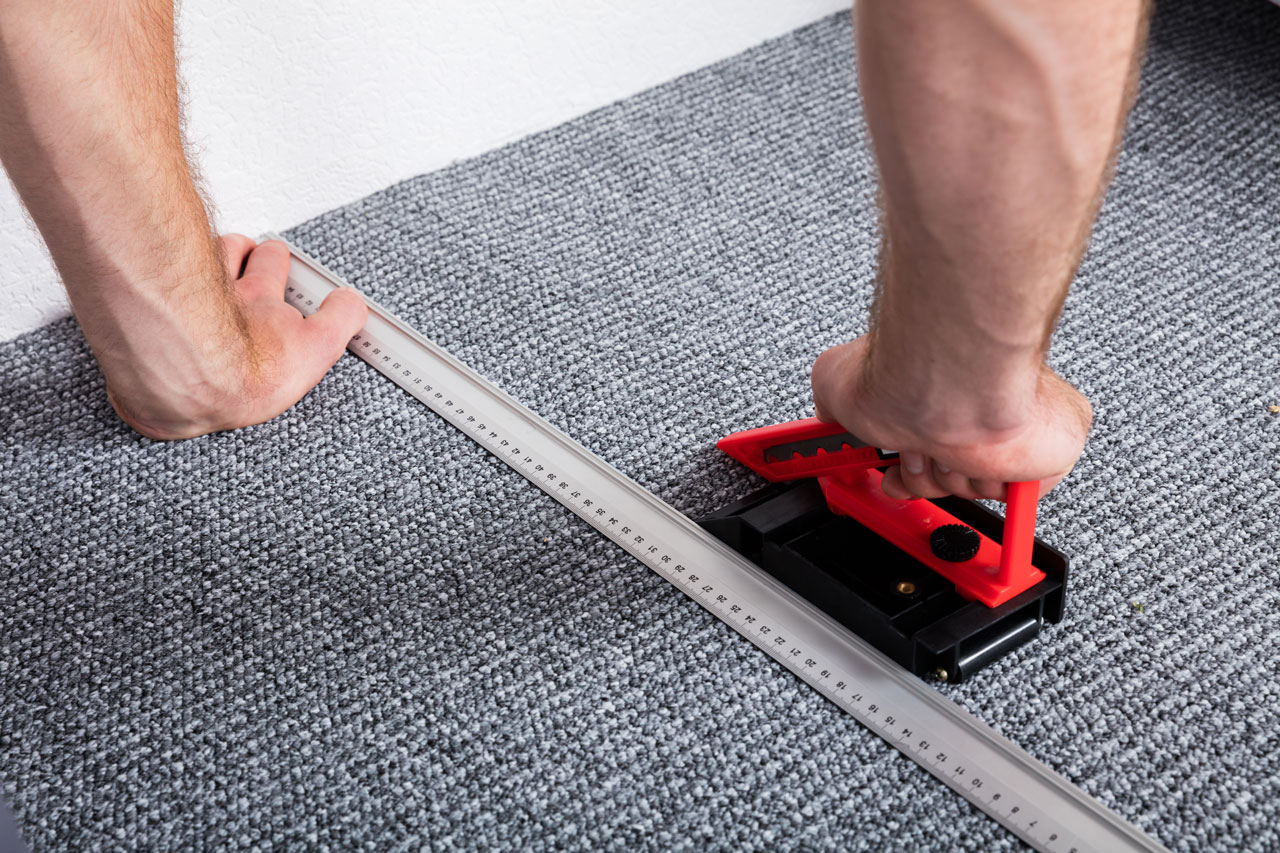
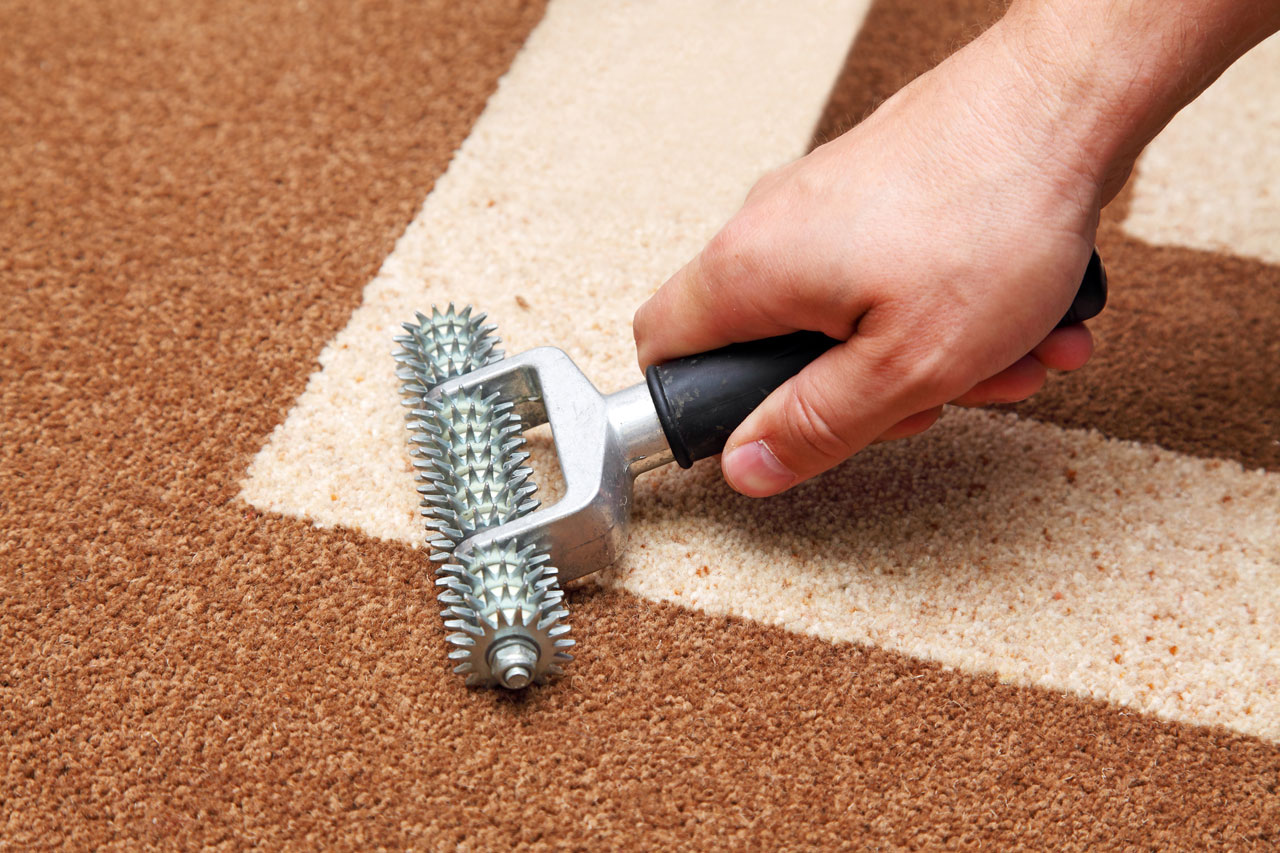
- Seams – where carpet edges join, a seam is created. Seaming tape is placed underneath where the carpet joins and is heated to allow the glue to melt. A seam roller is used to press down on the carpet to ensure that it sticks to the adhesive.
- Attachment – using a knee-kicker, the carpet is attached to the tackless strips at one end of the room by forcibly striking the padded end to stretch the carpet overtop.
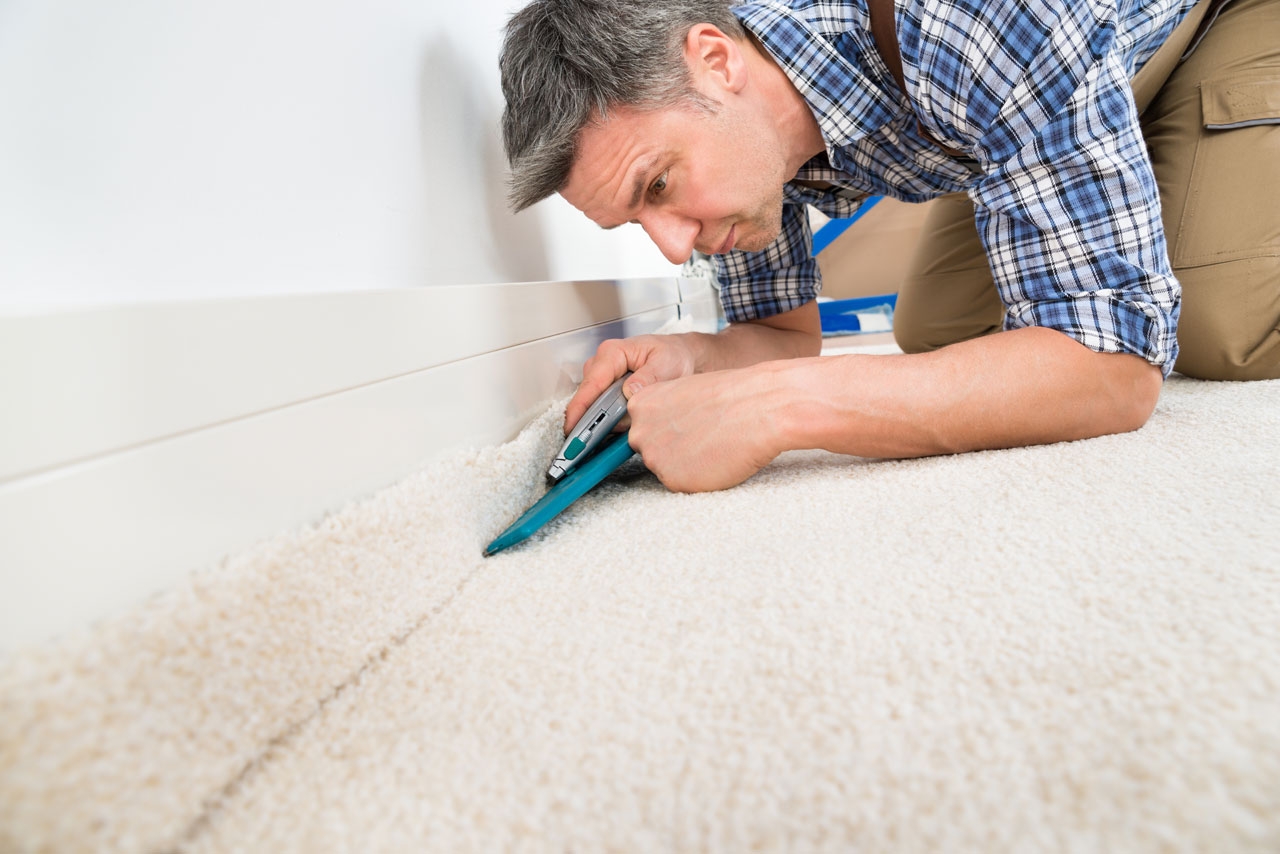
- Excess Trim – using a wall trimmer which rests against the wall, a straight cut is performed, trimming away the excess carpet. A stair tool is then used to press the newly cut edge underneath the baseboard trim.
- Stretching – a power stretcher stretches the carpet so it attaches to the tackless strips. In areas where the stretcher cannot reach, a knee kicker and stair tool are used. And in areas such as thresholds, a binder bar is used.
- Finishing – when the carpet is fully in place, vent openings are cut, and shoe moulding can be attached. The carpet is then vacuumed to remove any debris.
- Shedding – following installation, it is common to have some shedding or “sprouting”. This is normal, and is just some loose fibers that have come free during the stapling process.